Enemies in Twilight Princess: Difference between revisions
Jump to navigation
Jump to search
MannedTooth (talk | contribs) m (Text replacement - "File:ReDead Knight.png" to "File:TP ReDead Knight Model.png") |
(This is what they look like as enemies rather than items) |
||
| Line 16: | Line 16: | ||
File:TP Bokoblin Red.png|[[Bokoblin]] | File:TP Bokoblin Red.png|[[Bokoblin]] | ||
File:Bombfish.png|[[Bombfish]] | File:Bombfish.png|[[Bombfish]] | ||
File:Bombling.png|[[Bombling]] | File:TP Bombling Standing.png|[[Bombling]] | ||
File:Bomskit.png|[[Bomskit]] | File:Bomskit.png|[[Bomskit]] | ||
File:Bubble.png|[[Bubble]] | File:Bubble.png|[[Bubble]] | ||
Revision as of 04:09, 31 July 2017
Gallery of Enemies in The Legend of Zelda: Twilight Princess

Traps


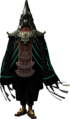
Middle Bosses


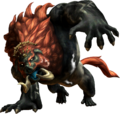
Bosses
-
Twilit Parasite: Diababa
(Forest Temple) -
Twilit Igniter: Fyrus
(Goron Mines) -
Twilit Aquatic: Morpheel
(Lakebed Temple) -
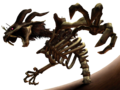
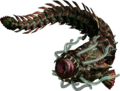
Twilit Fossil: Stallord
(Arbiter's Grounds) -
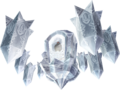
Twilit Ice Mass: Blizzeta
(Snowpeak Ruins) -
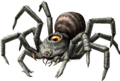
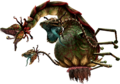
Twilit Arachnid: Armogohma
(Temple of Time) -
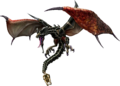
Twilit Dragon: Argorok
(City in the Sky) -
Usurper King: Zant
(Palace of Twilight)


-

Ganon's Puppet: Zelda
(Hyrule Castle) -
Dark Beast: Ganon
(Hyrule Castle) -
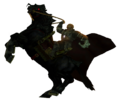
Dark Rider: Ganondorf
(Hyrule Field) -
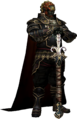
Dark Lord: Ganondorf
(Hyrule Field)


.png)
.png)
